
Downloadable PDF http://www.backsaw.net/SawHandles101.pdf
This is a tutorial of how to make a saw handle, I will probably refine and update as time goes by, however for anyone embarking on this process for the first time, it's a good idea to first review the existing on-line literature.
The most often quoted reference is Leif Hansen's Backsaw Project at http://norsewoodsmith.com/node/68 I recommend downloading the pdf file as a general reference.
The second one is Tim Hoff's two part How to make a handsaw.
Part 1. http://www.cianperez.com/Wood/WoodDocs/Wood_How_To/INDEX_How_To_pages/TimHoff_MakingSawBlades.htm
Part 2. http://www.cianperez.com/Wood/WoodDocs/Wood_How_To/INDEX_How_To_pages/TimHoff_MakingSawHandles.htm
Tim now has a blog which can be found (the saw handle making part) here:- http://sprucemill.blogspot.com/2008/12/making-saw-handles.html
There are no doubt other tutorials I have missed, if you let me know I will link to them from here.
A good site to also check is http://pedder-altedamenauskiel.blogspot.com/ Look for "Griffbau"=Handle Maker in the links section.
Here are the links...
Derek Cohen http://www.inthewoodshop.com/ShopMadeTools/Small%20Tenon%20Saw.html
Philly Edward http://www.philsville.co.uk/sawhandles.htm
Alice Frampton http://www.leevalley.com/newsletters/Woodworking/1/5/article3.htm
Alan DuBoff http://traditionaltoolworks.com/making-saws/
Mike Wenzloff http://wenzloffandsons.com/saws/kits/index.html
Thanks Pedder for the links.
This is part one of a multipart series that will cover making the back, making the handle and sharpening. The first part is making the handle. A downloadable pdf of the handle making process (much the same as this page) can be obtained from http://www.backsaw.net/SawHandles101.pdf
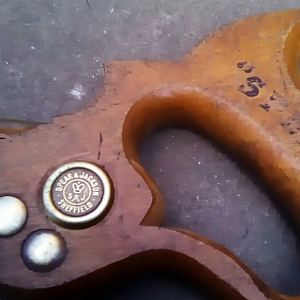
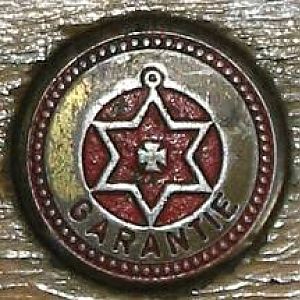
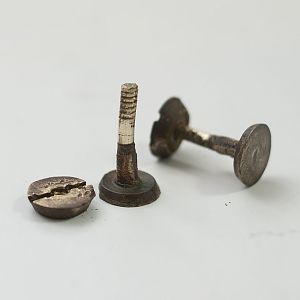
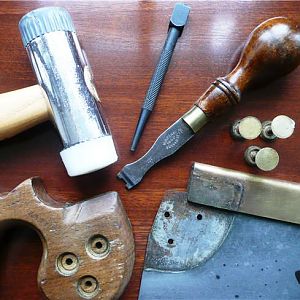
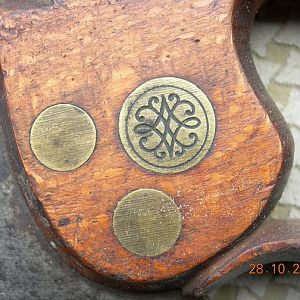
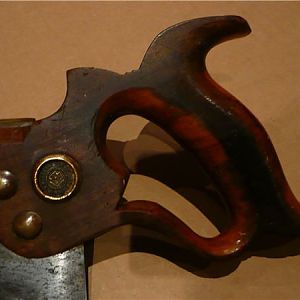
I bought my split nuts from Mike Wenzloff http://www.wenzloffandsons.com but you could make your own from 3/16 threaded brass rod and 1/2 brass rod, using Leif's "Poor Boy Split Nuts" from here.. http://www.norsewoodsmith.com/node/108
Personally, I love the split nuts from Mike, they are a work of art in themselves.
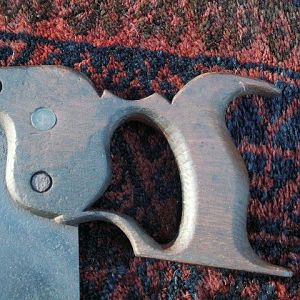
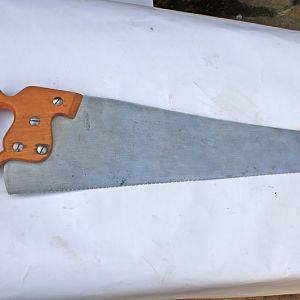
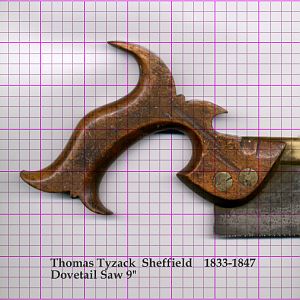
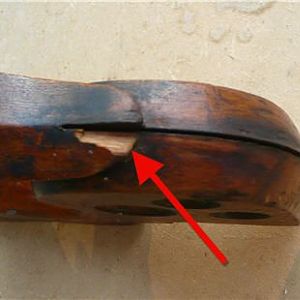
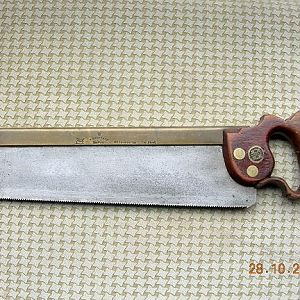
Now we have reviewed the available literature, it's time to get started. You want to choose a timber that is close grained and durable, among the traditional timbers are Beech and Apple, but modern saw makers tend to use more exotics, whatever you choose make sure you have a piece large enough to orient the grain correctly, especially if you are planning an open handle. A piece 6" x 6" is a good start.
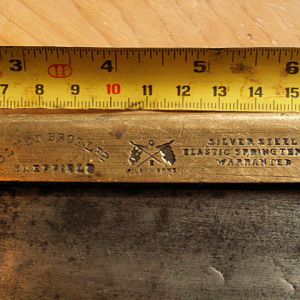
The first step is to thickness the timber to 7/8" you could go a little thicker (maybe 1") if you have long fingers or big hands and that feels better in your hand, but whatever you decide, this is going to be the final thickness of the handle.
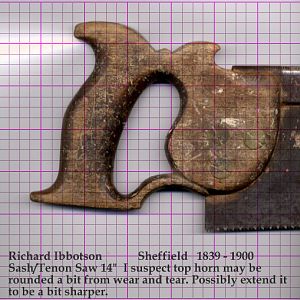
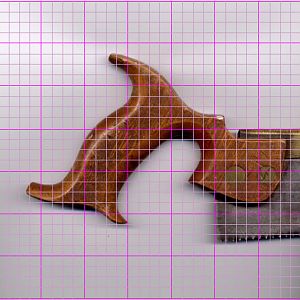
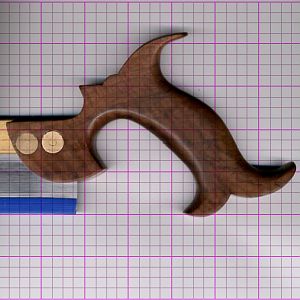
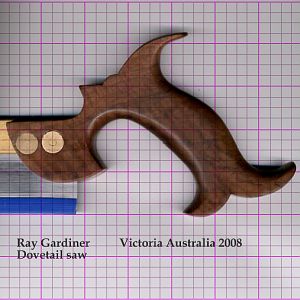
The next step is to decide the layout, I have an acrylic template than allows you to position the template and see the grain direction, and any figure that might be worth highlighting. If you have a paper template, then trace the outline onto a piece of clear plastic and get the orientation right before glueing the paper onto the wood.
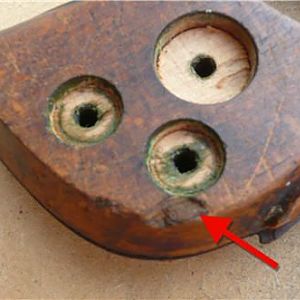
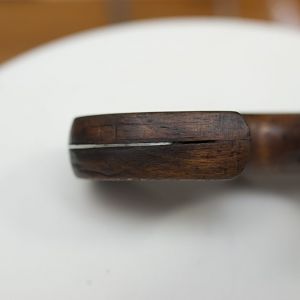
In this case I have a split that I need to avoid.
Decide the template position.
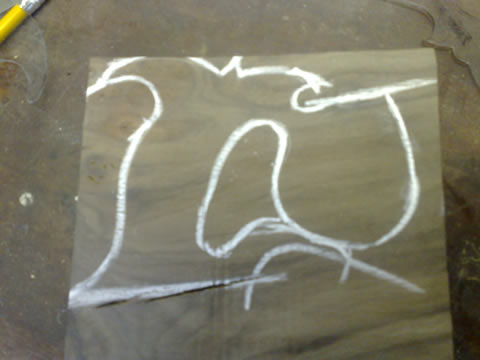
The next step is to mark the layout, I highlighted it with chalk, so it would be easier to see, a white marker would probably be better, there is a pencil line there but it doesn't show in the pictures too well.
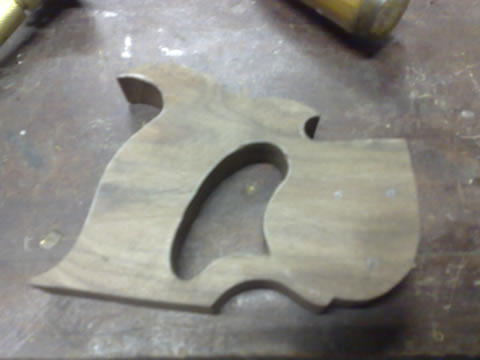
The next few steps are just to rough cut the outline. We start by drilling the corners out with forstner bits, mainly so we don't have to deal with sharp corners on the saw
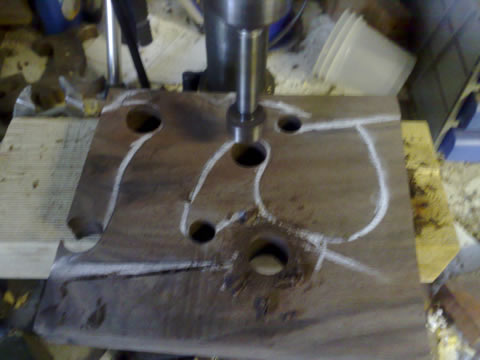
Drill out the corners.
None of these holes are critical, but you can go as close as you like to the line without problems.
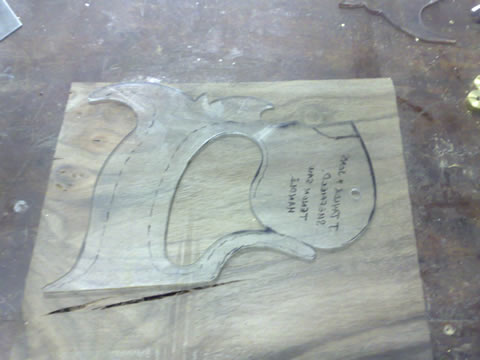
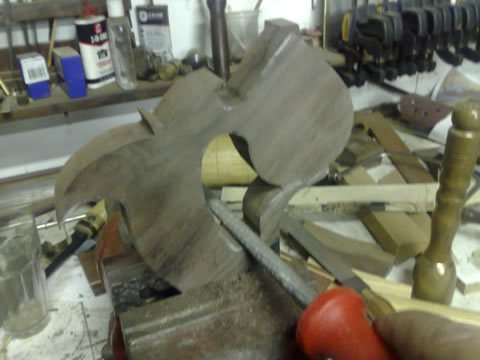
Then it's off to the bandsaw to kill a few electrons, you could use a scroll saw or a jig saw, or even a coping saw, of course the traditional turning saw is good as well.
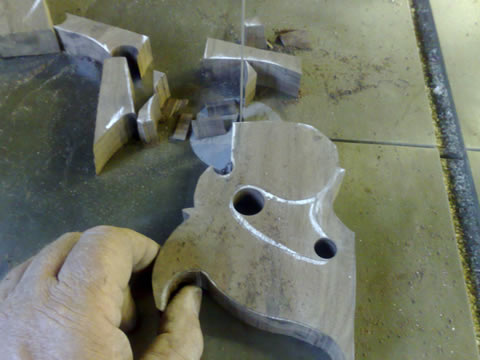
Keep the cut close to the layout lines.
The center bit is best done with a coping saw.
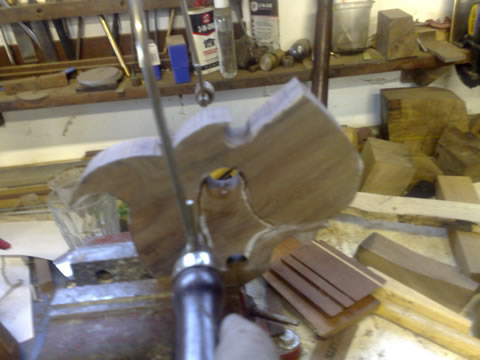
Now we have a rough outline, we can start to refine the outline, DON'T get carried away and start any shaping, just stick to the outline for now. Use whatever you have, rasps, files, microplanes, bits of dowell with 80 grit paper glued to them work just as well. Take you time with this outlining, these are all final cuts, and work right up to the layout lines. Take care to blend any curves nice and smooth. Use a chisel to refine any sharp corners. Like the top nib, don't do any other shaping however we want the handle nice and flat for a bit longer yet, we have other stuff to do yet that is easier when it's nice and flat.

A good rasp is handy but, really, use whatever you have.
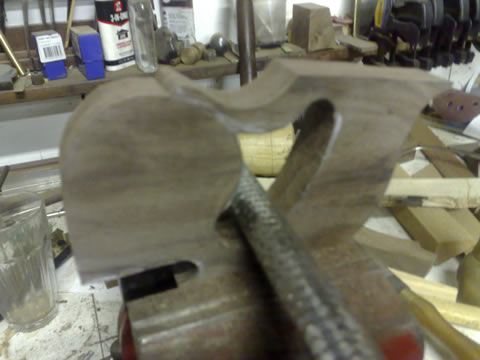
Microplanes cut fast and leave a pretty good finish.
For tighter curves a round file works just fine.
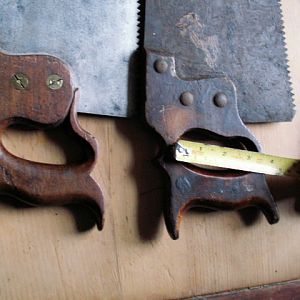
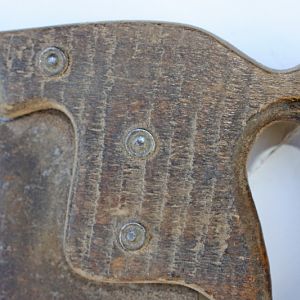
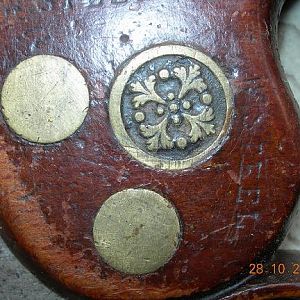
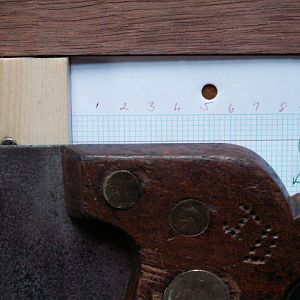
We already have our saw plate drilled and now carefully transfer the hole locations onto the handle blank, taking care to get the hang angle correct, if you mark the holes wrong in this step, there's no way back. So take you time and get it right.

Locate the saw screw holes
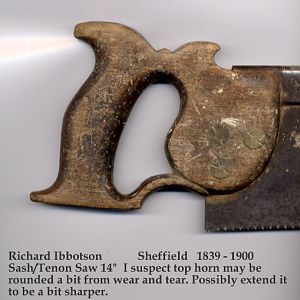
Take note of where the blade will finish in relation to the lambs tongue and the top beak. I have laid this one out to be in line with the brass back, but it doesn't have to be.
Mark the holes
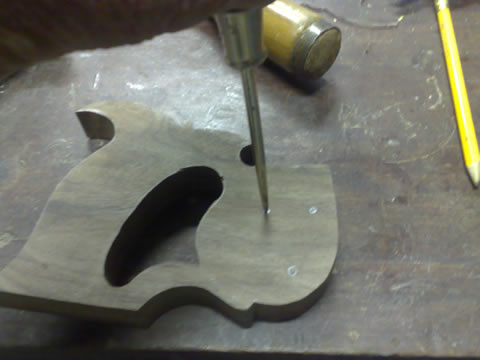
Now mark the centers with an awl, and recheck against the saw plate that the holes are accurately centered.
Mark through to the other side
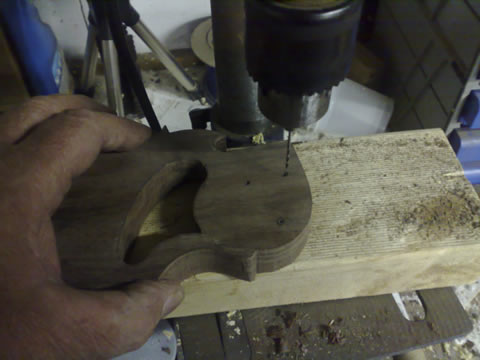
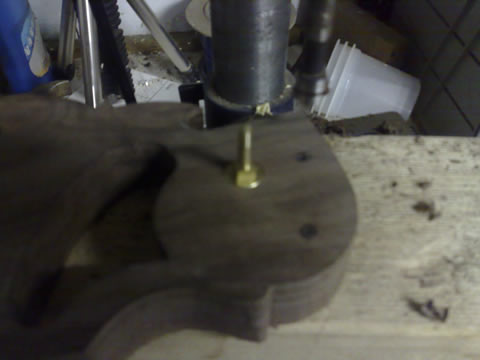
Now it's off to the drill press to kill a few more electrons, make sure your table is set up nice and square and then drill a small hole all the way through. I used a 1.5mm drill that was to hand, but 1/16 would do fine. The goal here is just simply to mark accurately through to the other side.
Once you've drilled through, recheck both sides against the saw plate to make sure you've got it right.
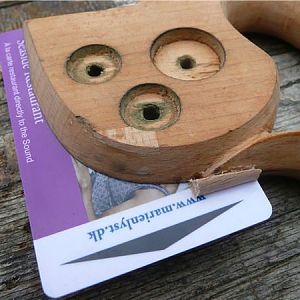
Now, change to a forstner bit that is the same diameter as the saw screws, I used 1/2" I thought I took a picture of drilling the recesses, but I can't find it. The only thing you are missing is the forstner bit has a line drawn with a marker pen showing the correct depth, drill just shy of the the full depth, and check the depth with a saw screw. Do both sides and take care to center the forstner bit on the small marker hole each time.

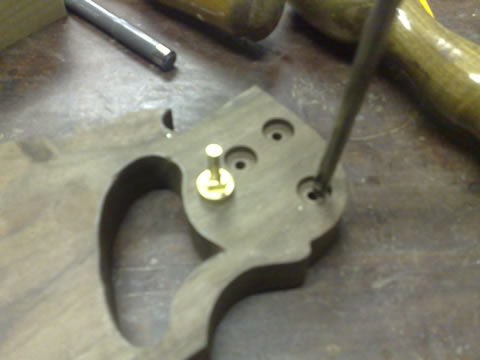
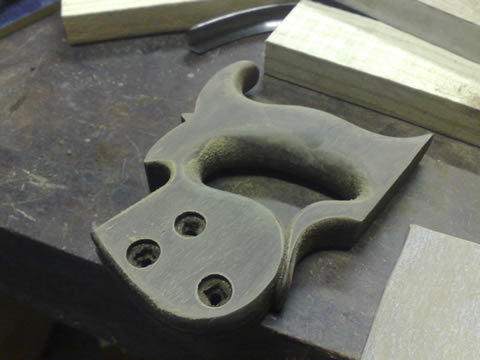
Now we have drilled the recesses both sides to just a little shy of the full depth.
Drill each hole to suit the shank if the saw screw, drill half way from each side taking care to center the drill in the center of the recess. It's important that this is done accurately and carefully. Get it wrong and it's back to square one....
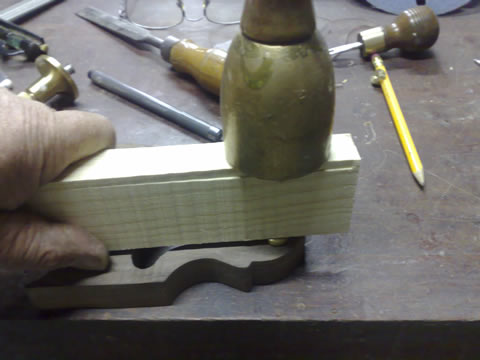
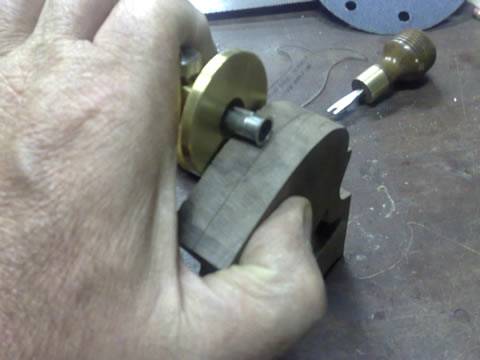
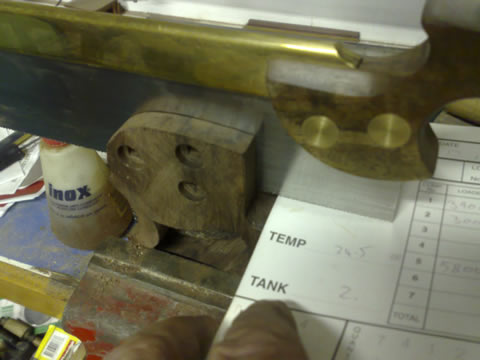
Now we have to cut the square recesses for the saw screws. Place a saw screw in the hole and tap firmly to mark the square section.
Now, with a 1/4" chisel chop out the recess for the square shank.
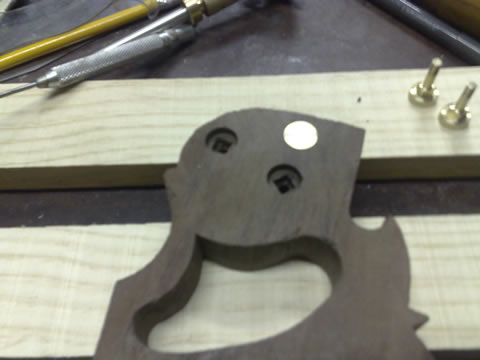
Test fit the saw screws and rework the square holes if needed.
The next bit is tricky, so take a break and relax the nerves....
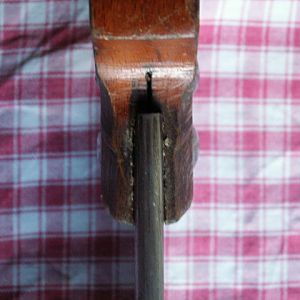
Cutting the saw kerf must be done precisely, I have seen all different ways of doing it, the method shown here takes time and you must work slowly and keep checking constantly.
First we mark a center line
Mark from both sides to ensure we are centered, and carry the line all the way around the blank where the saw plate will be going.
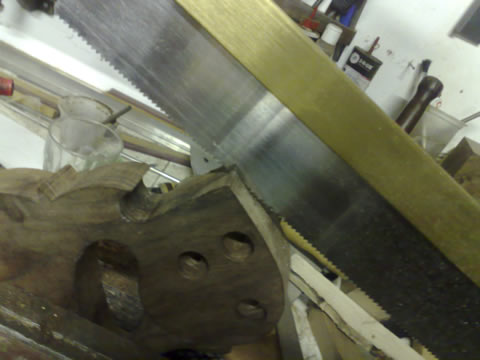
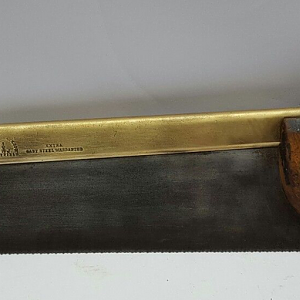
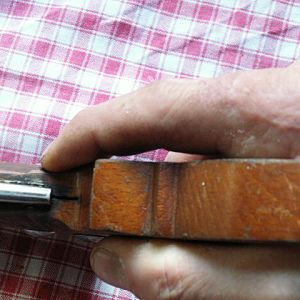
Start the cut on a corner, but don't cut too deep, maybe 1/8" or so, use a saw with a narrow kerf close to the thickness of the saw plate you are using.
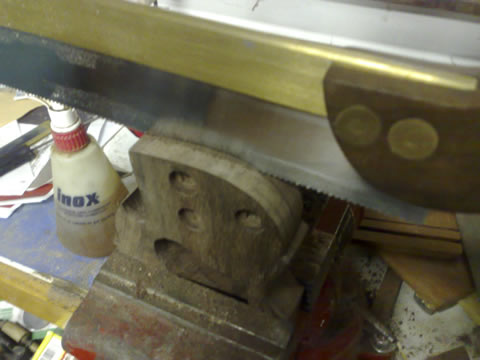
Now gradually work the line around the handle taking care not to cut too deep and keep watching that the cut is nice and centered.
Gradually deepen the cut
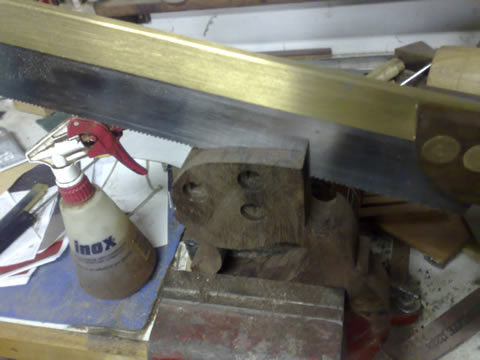
I ran out of depth with the dovetail saw, so swapped to another with a bit deeper saw plate. Still same kerf however.

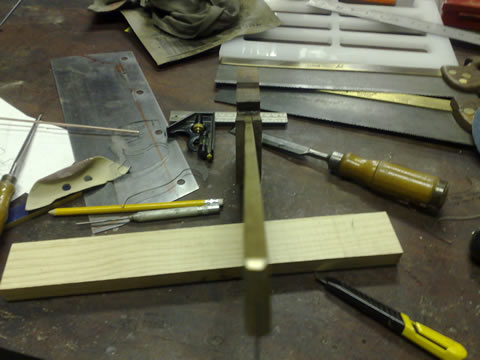
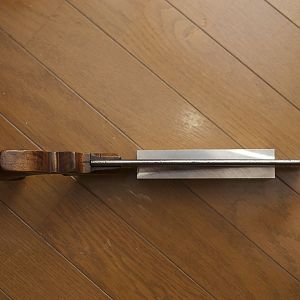
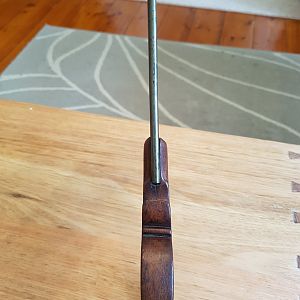
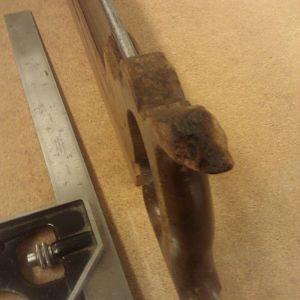
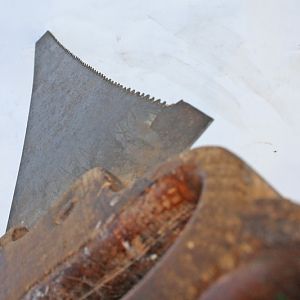
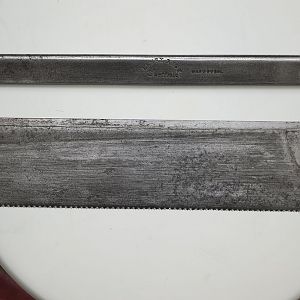
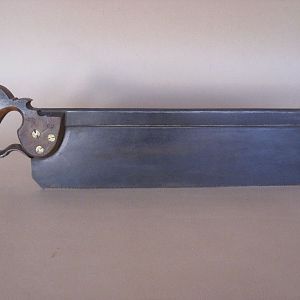
Test fit the blade and sight along the handle to make sure we are nice and straight..
Now breathe a sigh of relief, it gets easier from here on. Next task is to inlet the brass back.
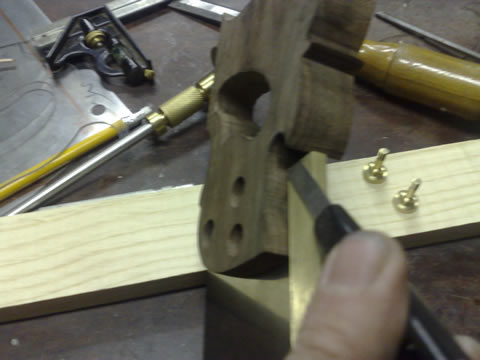
Mark for inletting the brass.
Start by marking the cut we need to make directly from the back.
A sharp knife with a thin blade works best here, mark tight to the brass on both sides.

Now with a 1/4" chisel, or rather a chisel the same width as the back, work carefully staying off the lines and chop down.
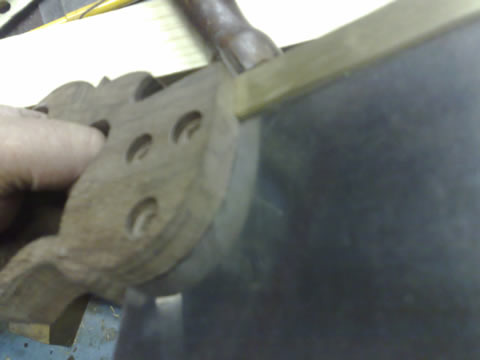
You want to end up with a tight fit against the brass, so take care when working close to the edges
Keep test fitting and work slowly to make sure you don't over cut it.
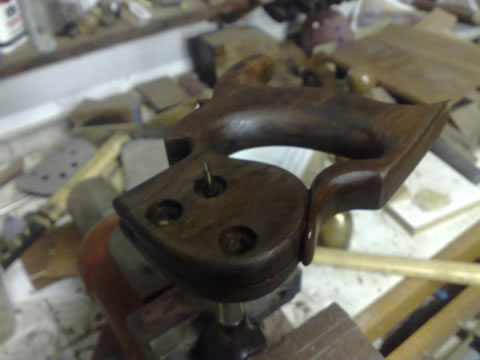
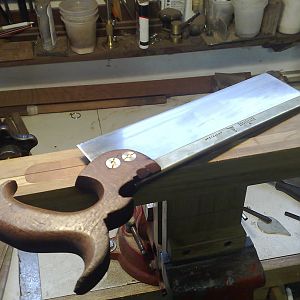
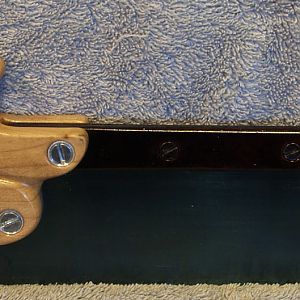
Now we are ready for a trial assembly, to see if we got it nice and straight.
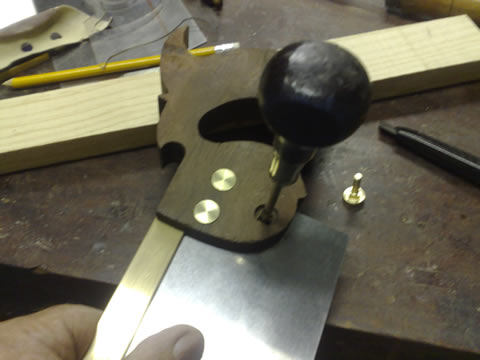
Use a tapered awl to line the plate up with the holes
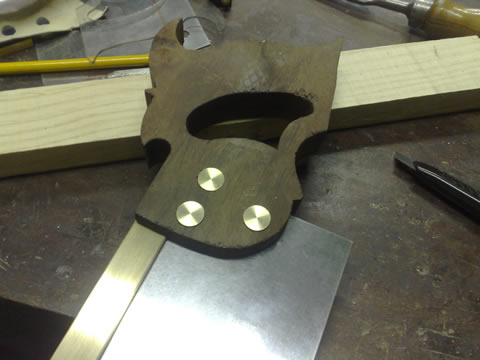
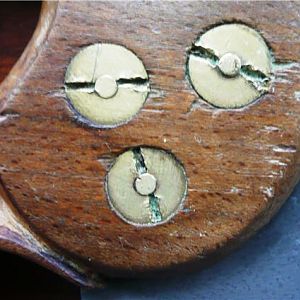
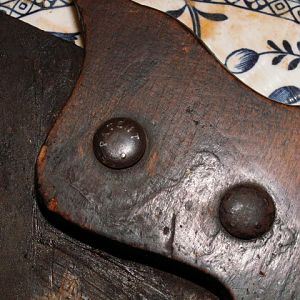
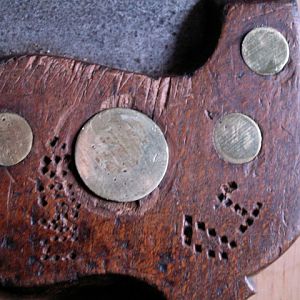
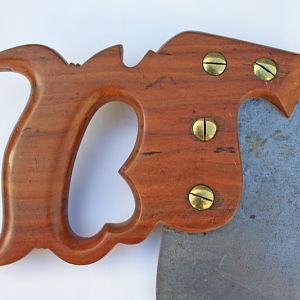
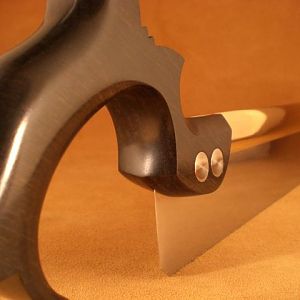
All three screws should fit cleanly and sit just a little proud of the surface. They will pull down a bit when we tighten everything up later.
Recheck that everything is still nice and straight.
Now pull it all apart and we can start shaping the handle, (this is the fun part, right!)
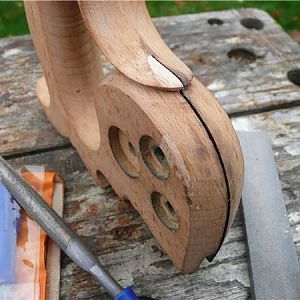
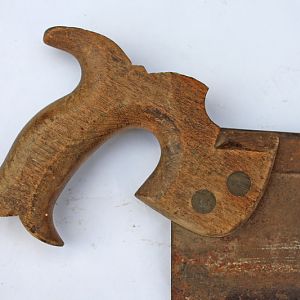
Start by highlighting the areas we are going to shape
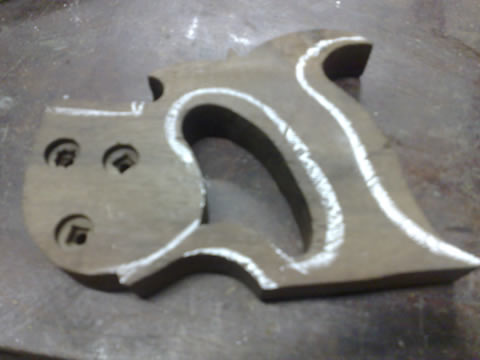
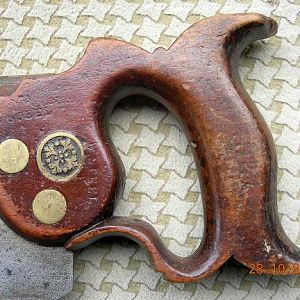
Note the line for the lambs tongue follows the curve of the boss.
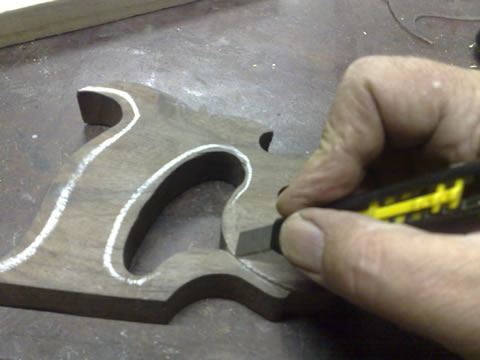
Use a sharp knife to define the line for the lambs tongue.
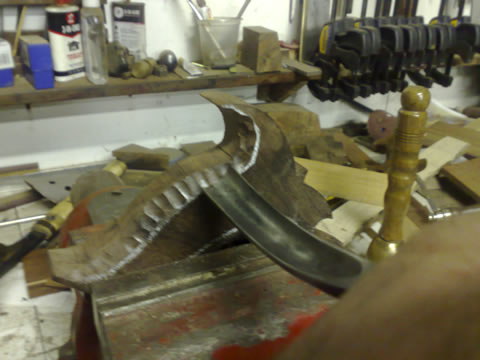
A gouge is more tolerant of grain direction.
Remove as much material using a chisel, or gouge if you have one. This is just to make for less work with the rasp later.
Just work to the lines and remove excess material
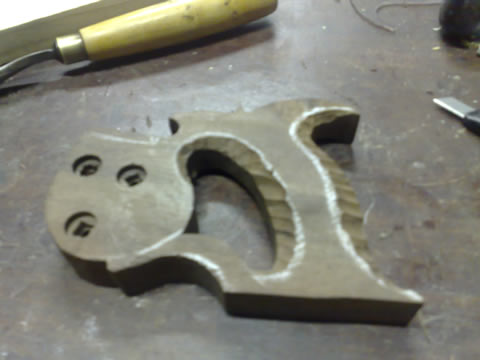
Define the rough shape, it's important that you keep eveything symetrical and don't over do it.
Now we can start refining the shape with a rasp.
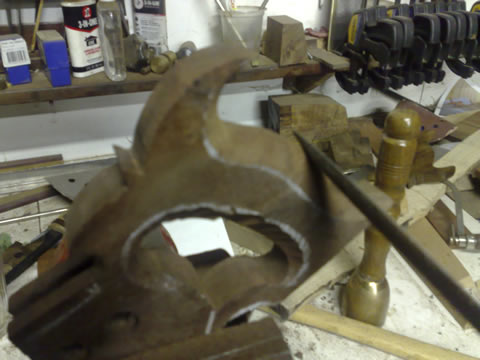
Gradually work the profile and keep smoothing out lumps and bumps and refining the shape.
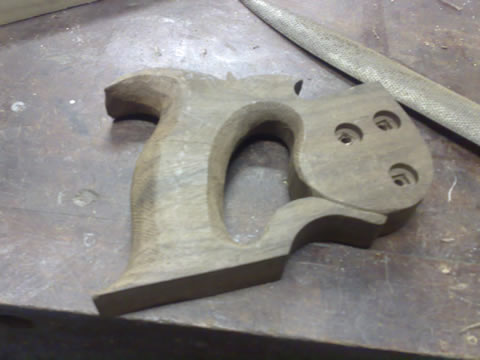
Use a sharp knife or chisel to refine the sharper corners and details. When you are happy with the general shape, it's time to start smoothing.
I cut up sanding disks, they are stiff enough, that they don't follow the bumps too easily and course enough to cut reasonably fast, what we are trying to do is smooth the shape and remove rasp marks, (by replacing the rasp marks with sanding scratches!)
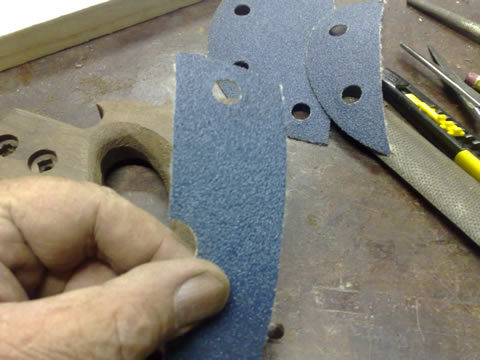
Gradually smooth the profile and remove the rasp marks
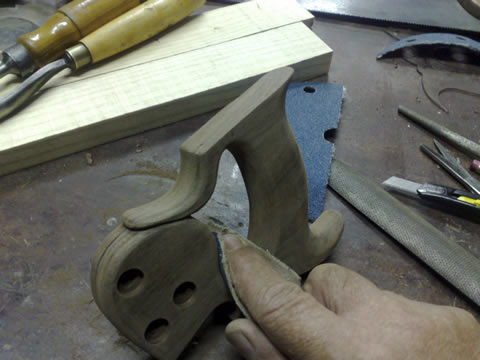
Work the inside curves by swiping the sandpaper around the curve, a bit hard to describe, sort of a rolling action, but dragging the sandpaper as you go.
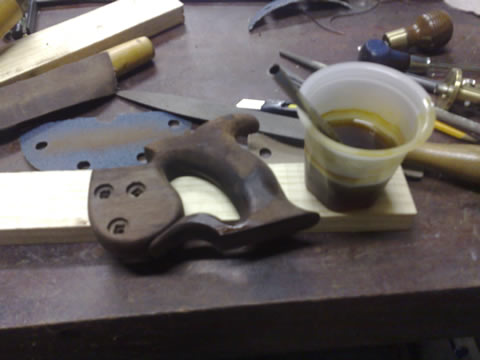
As the smoothing progresses, apply a light coat of shellac and then move to 120 grit
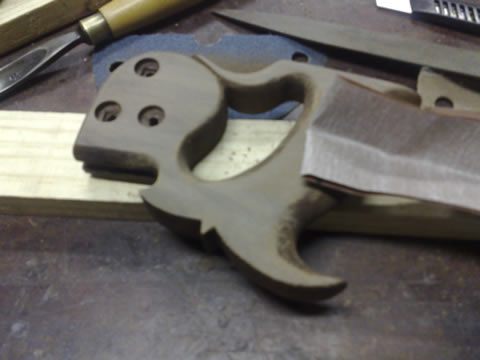
The shellac does a couple of things, initially it raises the grain, then later as more coats are applied it starts to fill the grain.
Move from 120 to 240, then finally 320 with light coats of shellac between grits. Keep looking for scratches and smoothing the curves.
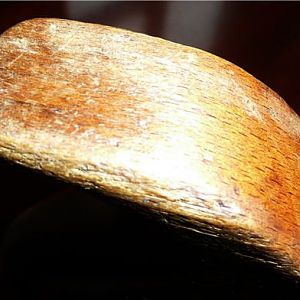
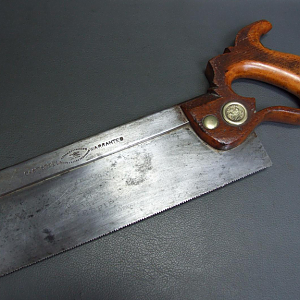
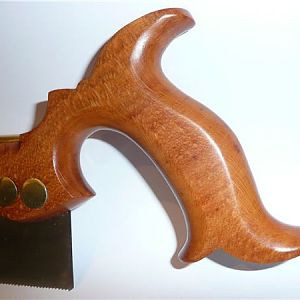
The final coat of shellac,
This is then lightly sanded with 320 one last time, and a light coat of UBEAUT wax applied and the it's off to the buffing wheel to be polished with an inch of it's life.
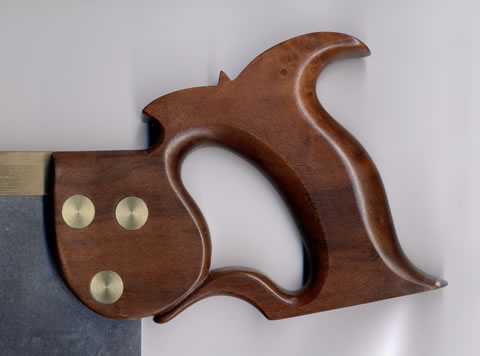
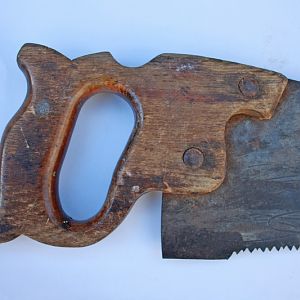
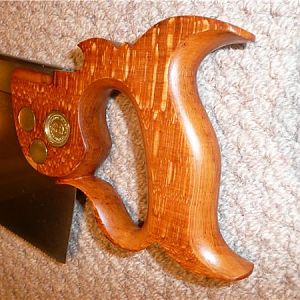
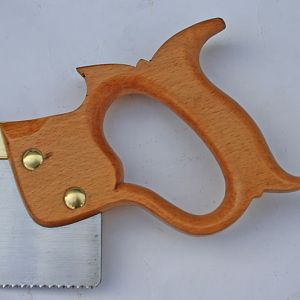
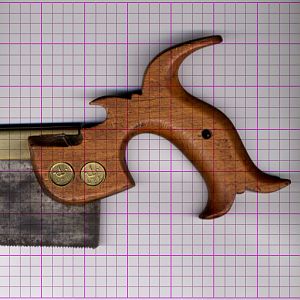
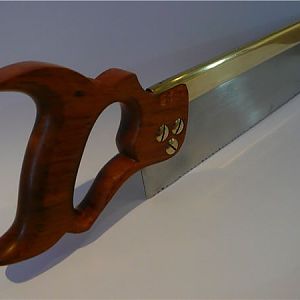
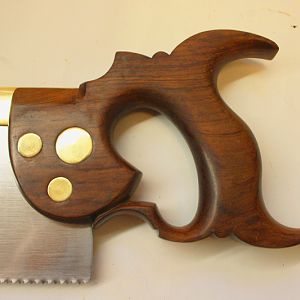
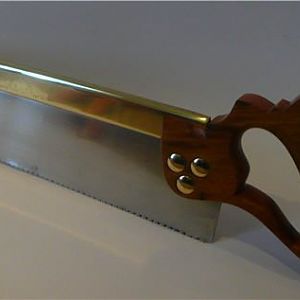
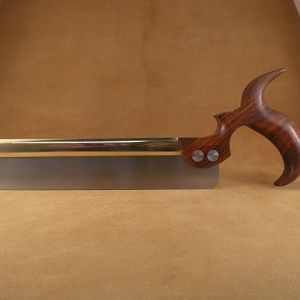
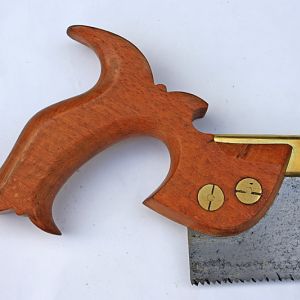
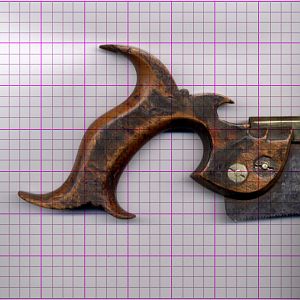
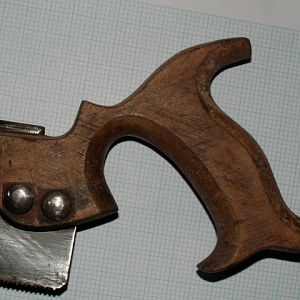
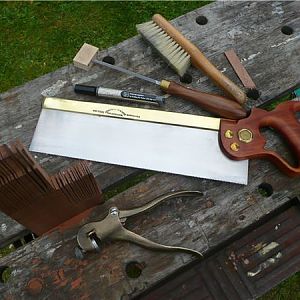
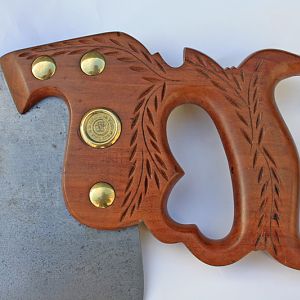
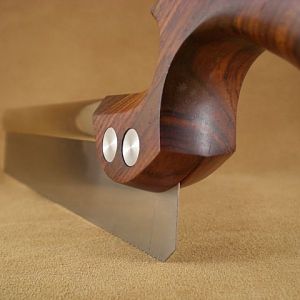
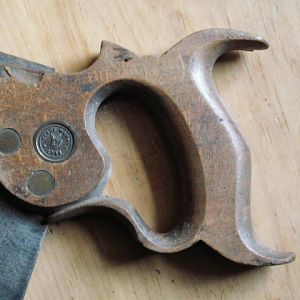
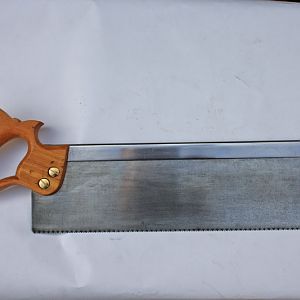
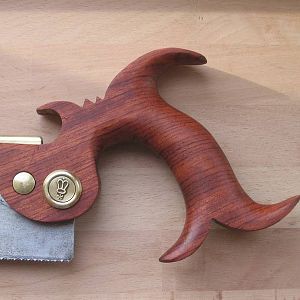
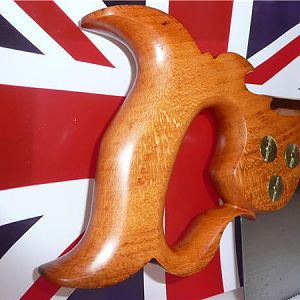
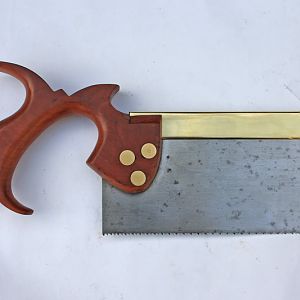
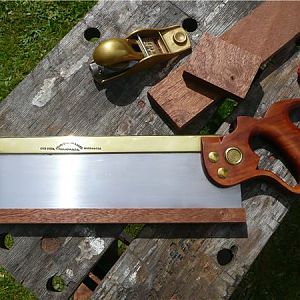
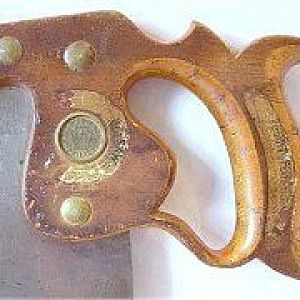
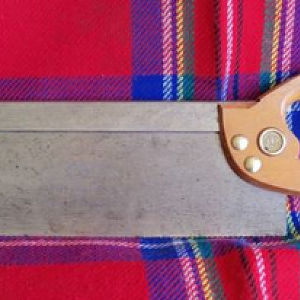
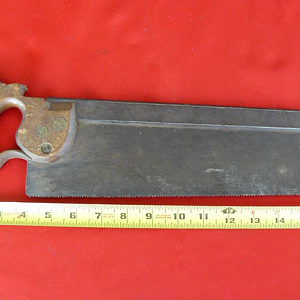
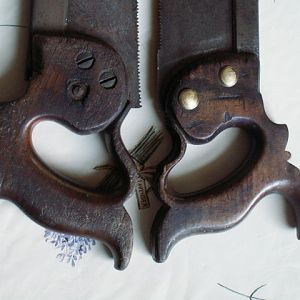
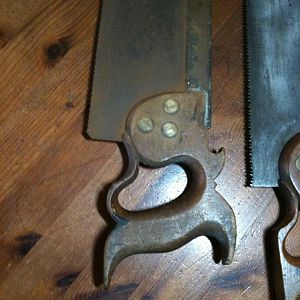
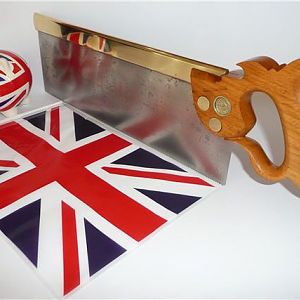
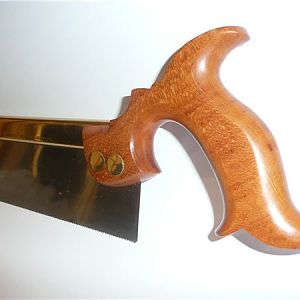
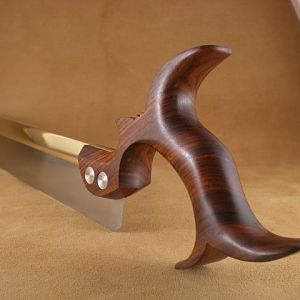
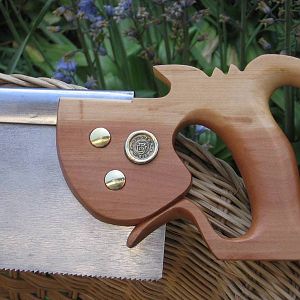
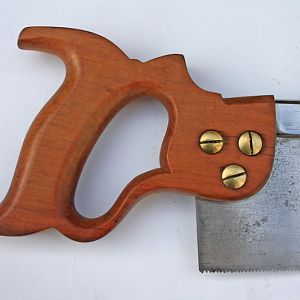
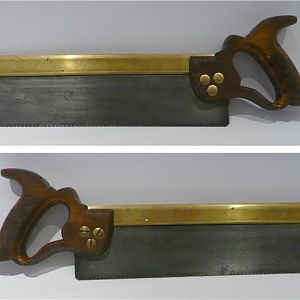
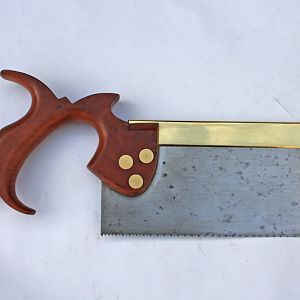
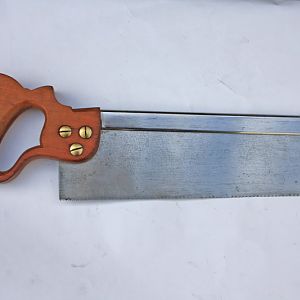
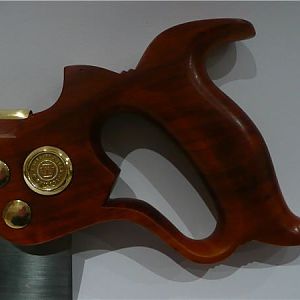
Then, here is the final assembly
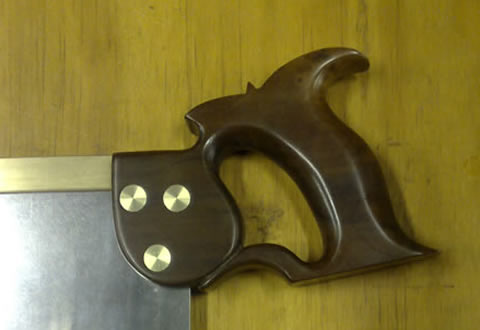
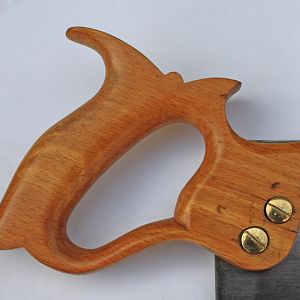
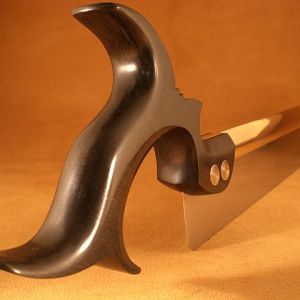
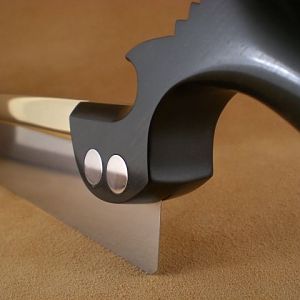
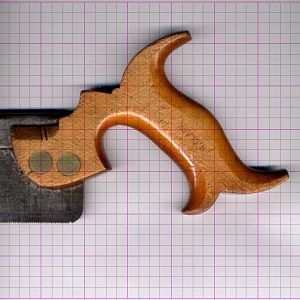
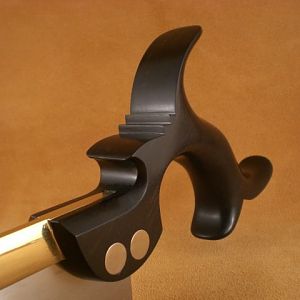
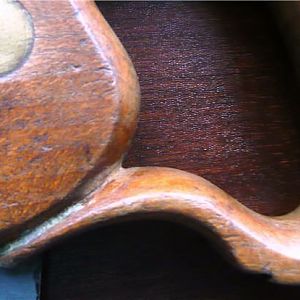
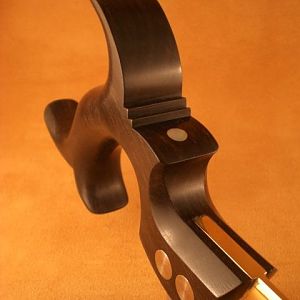
That rounded look, is not the only option, after looking at it for a bit, I decided to go for that crisper more "manufactured" look with a shadow line..... so....
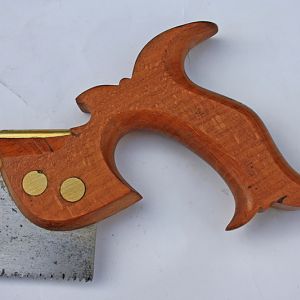
To get that look, you need to flatten the sides a little, you could just very carefully touch it up on a linisher, or a sheet of 220 grit on a flat surface works as well, but you then need to do a bit of refinishing..

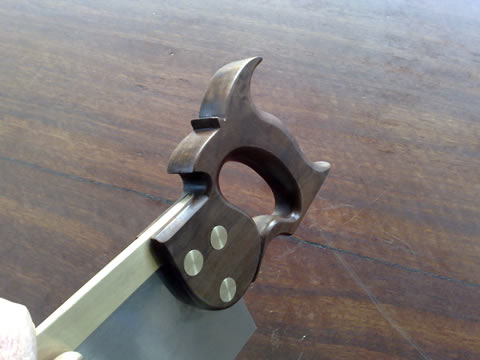
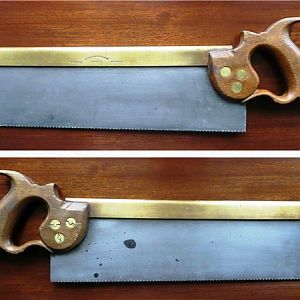
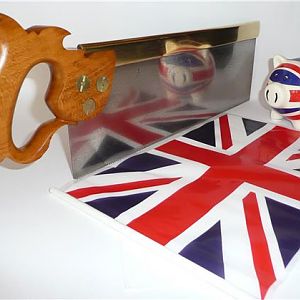
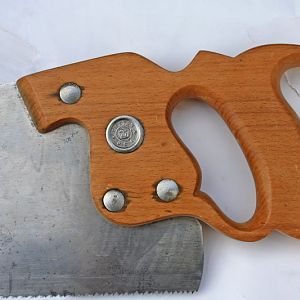
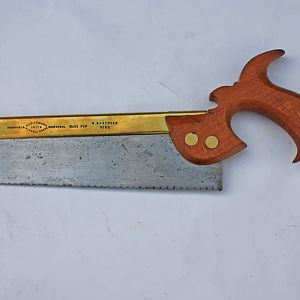
The end result is something like this,
I could have polished the flat side bits a bit more, but you get the idea.
That's it, now get out of here, and have a go yourself.... it's easy I promise....
Regards
Ray